Looking for an inexpensive way to increase your shade and privacy outdoors? You might be thinking about building your own DIY canopy tent. The majority of canopy tent projects we see are intended for indoor use. But it is certainly possible to build a canopy tent for outdoor use as well.
In this post, we will go over the materials and instructions for a DIY canopy tent project.
Materials and tools:
- Thin lumber planks
- Pencil
- Measuring tape
- Screws
- Brackets
- Cordless drill
- Palm sander
- Wood tie plates
- Brush
- Wood stain and varnish
- Fabric
- Ribbon
The exact dimensions for the lumber planks will depend on how large you want your completed canopy tent to be.
Below are the basic steps for this project. Keep in mind this is a simple overview to help you get started. You may want to check out some more detailed guides and videos before you dive in.
You should be able to do this project yourself if you are patient, but you will find parts of it easier if you have a pal to assist you in maneuvering the frame you are building.
How long will this project take you? That depends on your level of skill and the speed at which you work. You might be able to do it in a day if you are fast and dedicated. Otherwise, you can probably get it done within a few days.
Steps:
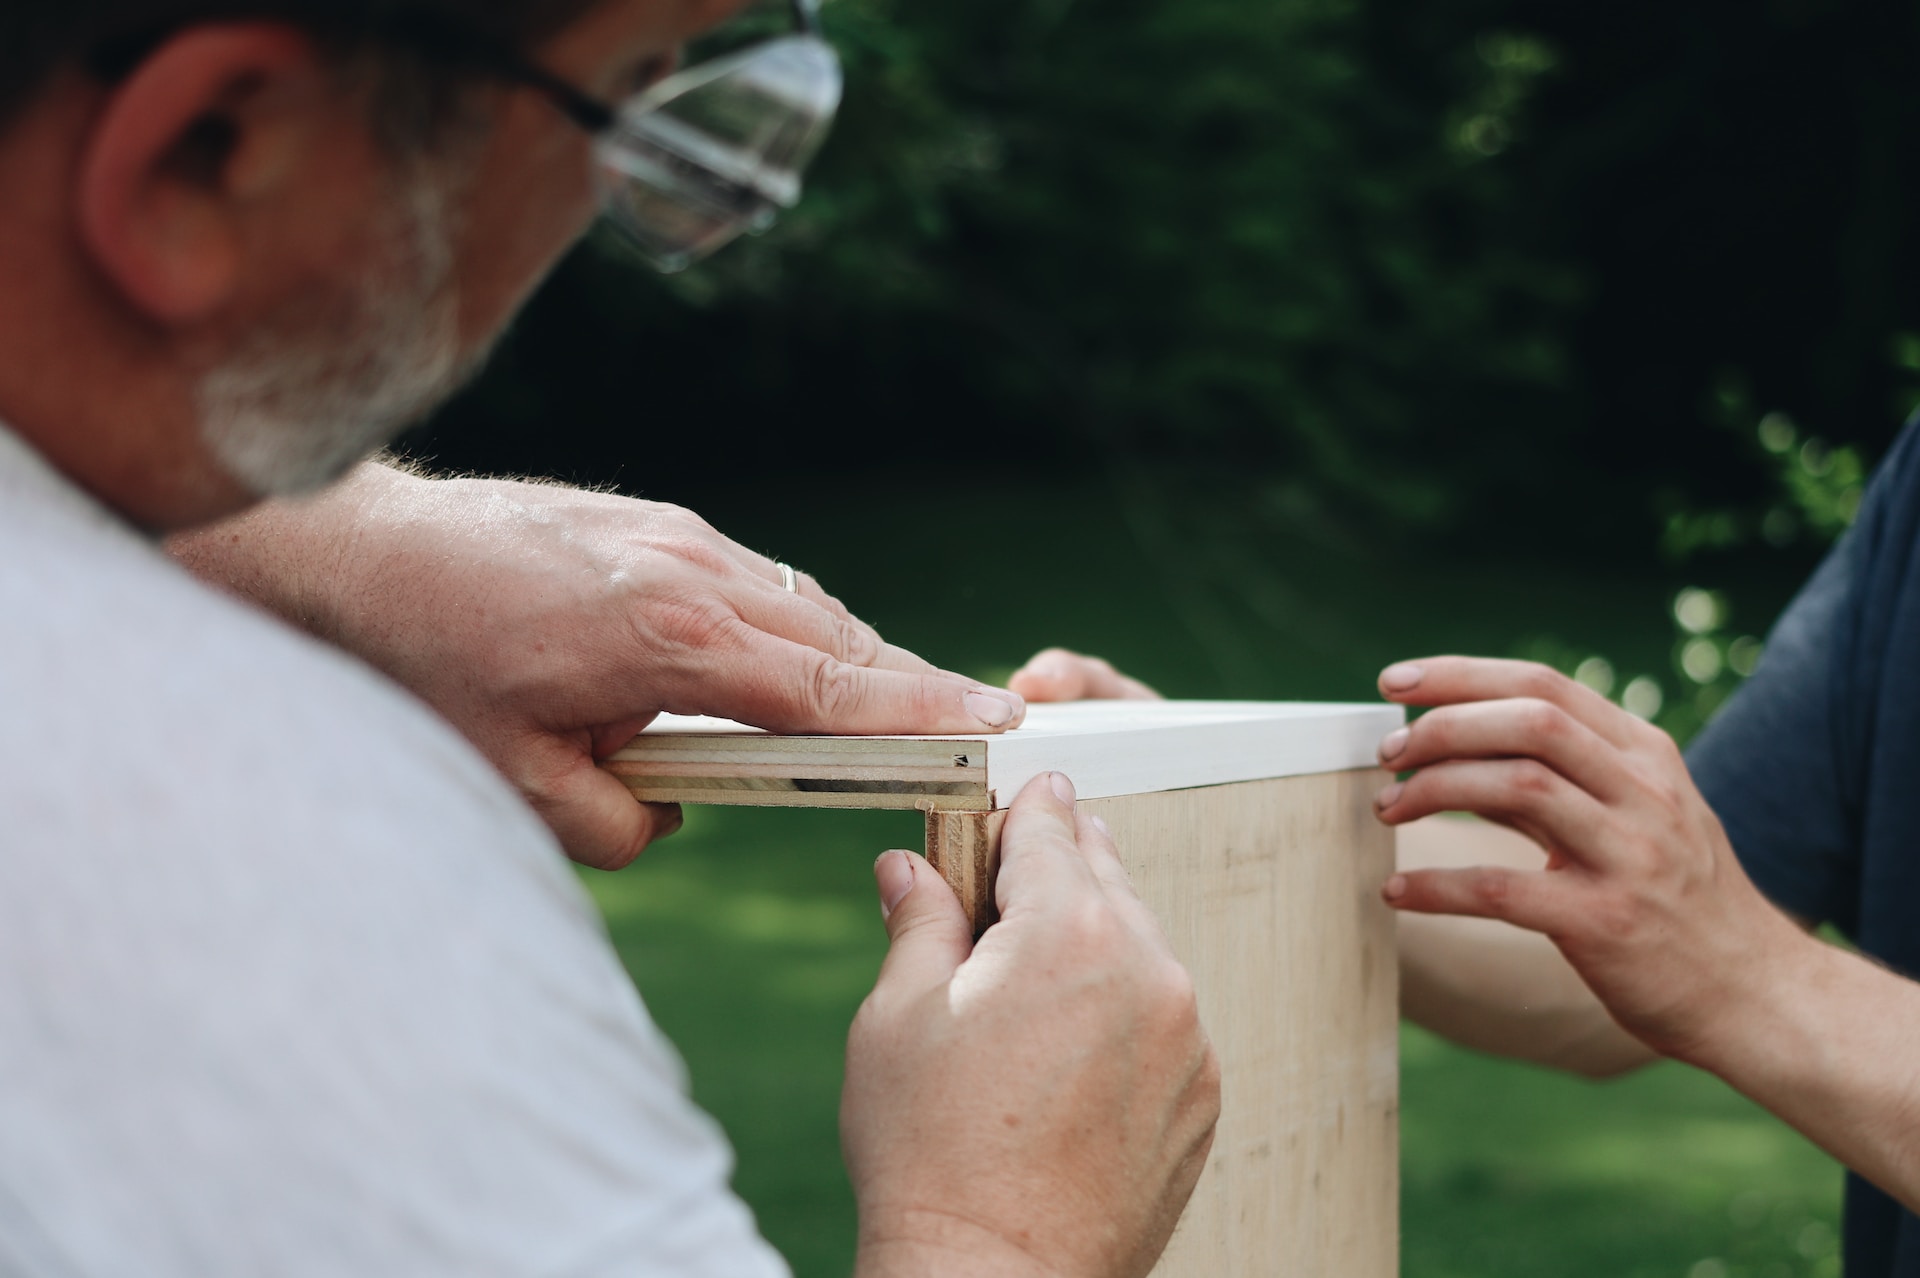
- Lay out your lumber planks on the ground to form a framework for the roof. This can take the form of a simple rectangle with several planks crossing through the middle at intervals to provide structure.
- Use screws and brackets to join the lumber planks together to create the roof frame.
- Use additional brackets and screws to connect the legs of the tent to the roof frame. Ornamental brackets are perfect for this step, as they can add a bit of a flourish to your canopy tent’s design.
- Use screws to attach wood tie plates to the corners. This will effectively reinforce the meetings between the legs and the roof.
- After you have finished the steps above, you will have completed the frame. If you want, you can now paint it. Be sure to weatherproof it either way, since wood can rot when exposed to moisture.
- Now you need to cut your outdoor fabric down to the right size. You can then drape it over the top of your wood frame. Keep in mind that the edges of the cloth will fray over time if you do not fold them over and sew them to create seams. So, if you feel up to the task, you might want to take care of that step as well.
- Create some holes in the fabric near the feet of the tent, and run ribbons through them. Use these to tie the fabric to the legs. That way, it will not blow off when the breeze kicks up.
We have assumed that for this project, you only want the canvas to cover the roof and two of the sides of your tent. If you want it to cover three or four sides, then you will have a bit more work to do. Otherwise, one long piece of cloth is all you need. If you set the tent near a wall, you will have privacy on three of the four sides.
Want to Save Time and Effort? Buy a Pop-Up Canopy Tent
If you are crafty and excited to work on a project, you probably will have a lot of fun designing and building your own canopy tent. But not everybody wants to put in that time and effort, or has the skills, tools or energy.
The alternative, of course, is simply to buy a pop-up canopy tent. They are actually less expensive than you might think, and they offer a few key advantages over a DIY tent, such as:
- Easy and convenient to set up and use: When you purchase a pop-up canopy tent, you do not have to go to the trouble of constructing one. You can set up the tent in just a couple of minutes, even if you are working by yourself. It is hard to beat the convenience.
- Portable: One of the biggest drawbacks of a DIY canopy tent is that you probably are not going to be able to take it anywhere. True, you can move it around your yard, but even that is going to be a pain since the frame is rigid and the tent is cumbersome. And one thing you definitely cannot do is pack it up and take it with you to the beach or on a camping trip. But with a store-bought canopy tent, you can collapse it, pack it up, and take it with you anywhere you need it.
- Built to last: Although you can take steps to weatherproof a DIY canopy tent, it would be hard to do as good a job as a manufacturer of a store-bought tent. Pop-up canopy tent manufacturers have worked hard to engineer designs that can hold up to wind and rain, offering you many years of use. They also use some of the most rugged materials you are going to find.
- Customizable: Being able to personalize a tent design may be part of what attracts you toward the idea of a DIY tent. But you can find pop-up canopy tents for sale in many colors. If you want one for professional use, you can even put your company branding on it. Side-walls and other accessories help you to further customize your pop-up canopy tent.
Whether you decide to build a DIY canopy tent or buy one, your tent will provide you with shelter from sun, rain and light to moderate breezes, giving you the means to enjoy the outdoors to their fullest.